Stitch guide · Basic stitches
Chain Stitchch
The chain stitch is where almost every crochet project begins. Learn how to make a slip knot, work even chains and count them accurately.
On this page
- US abbreviation
- ch
- UK name
- chain (ch)
- Skill level
- Absolute Beginner
- Stitch multiple
- Any number
- Turning chain
- Not applicable
- Height
- A small, flat loop
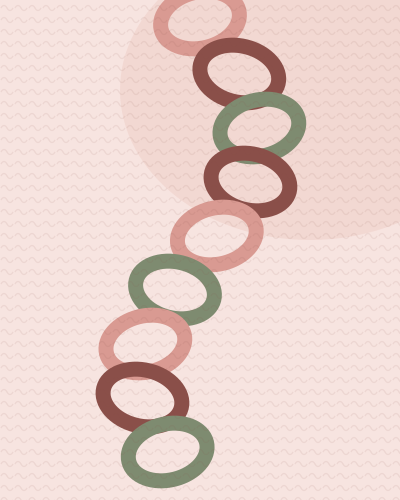
Chart symbol for the chain stitch
Chains are the foundation of crochet. A foundation chain is the row of chains you work your first row of stitches into, turning chains lift your hook to the right height at the start of a new row, and chains also create the open spaces in lace, mesh and granny squares.
It is the first stitch most people learn, and making chains that are even and relaxed makes every other stitch easier.
How to crochet the chain stitch
- 1
Make a slip knot
About 6 in (15 cm) from the end of the yarn, make a loop so the working yarn (the end attached to the ball) lies behind it. Reach through the loop, pull up a small loop of the working yarn and tighten the tail. Slide this loop onto your hook and snug it so it moves freely without falling off.
- 2
Hold the hook and yarn
Hold the hook in your dominant hand like a pencil or a knife. Drape the working yarn over the fingers of your other hand so it feeds smoothly, and pinch the tail below the slip knot between your thumb and middle finger.
- 3
Yarn over
Wrap the working yarn over the hook from back to front so it sits in the hook’s throat.
- 4
Pull through
Turn the hook slightly downward and draw the yarn through the loop on your hook. That’s one chain.
- 5
Keep going
Repeat the yarn over and pull through for each chain. Every few chains, move your pinching fingers up so you are always holding the work close to the hook.
Practice swatch
Work this small swatch to get comfortable with the stitch before starting a project.
- Practice
- Make a slip knot and ch 20. Count the V shapes along the front of the chain — there should be 20, not counting the slip knot or the loop on your hook.
Tips
- Don’t count the loop on your hook or the slip knot.
- Foundation chains are often tighter than the stitches worked into them. If your first row puckers, make the chain with a hook one size larger.
- The V shapes are on the front of the chain; the little bumps on the back are called back bumps.
Common problems (and fixes)
- My chains are tight and hard to work into
- Relax your grip and pull each new loop up onto the wider shaft of the hook, not just the throat. Making the foundation chain with a larger hook also helps.
- My chains are uneven
- Keep feeding the yarn at a steady tension and move your holding hand up often. Evenness comes with practice — a few rows of chains make a big difference.
- I keep losing count
- Place a stitch marker every 10 or 20 chains, and count again before starting the first row.
Common questions
Does the slip knot count as a chain?
No. Neither the slip knot nor the loop on your hook counts. Start counting from the first V after the slip knot.
What is a turning chain?
A few chains made at the start of a row to bring your hook up to the height of the next stitches. Each pattern says whether its turning chain counts as a stitch.
Written by
Editor — placeholder profile
This is a placeholder author profile. Before launch, replace it with the real person who writes, designs and tests the patterns on this site.
Placeholder profile — replace before launch
Put it into practice
Patterns using the chain stitch
 Free pattern
 Free pattern
 Free pattern
 Free pattern
 Free pattern
 Free pattern
 Free pattern
 Free pattern
Newsletter
A little crochet inspiration in your inbox.
New free patterns, gentle tutorials and seasonal ideas — about twice a month.