Easy Beginner Crochet Hat
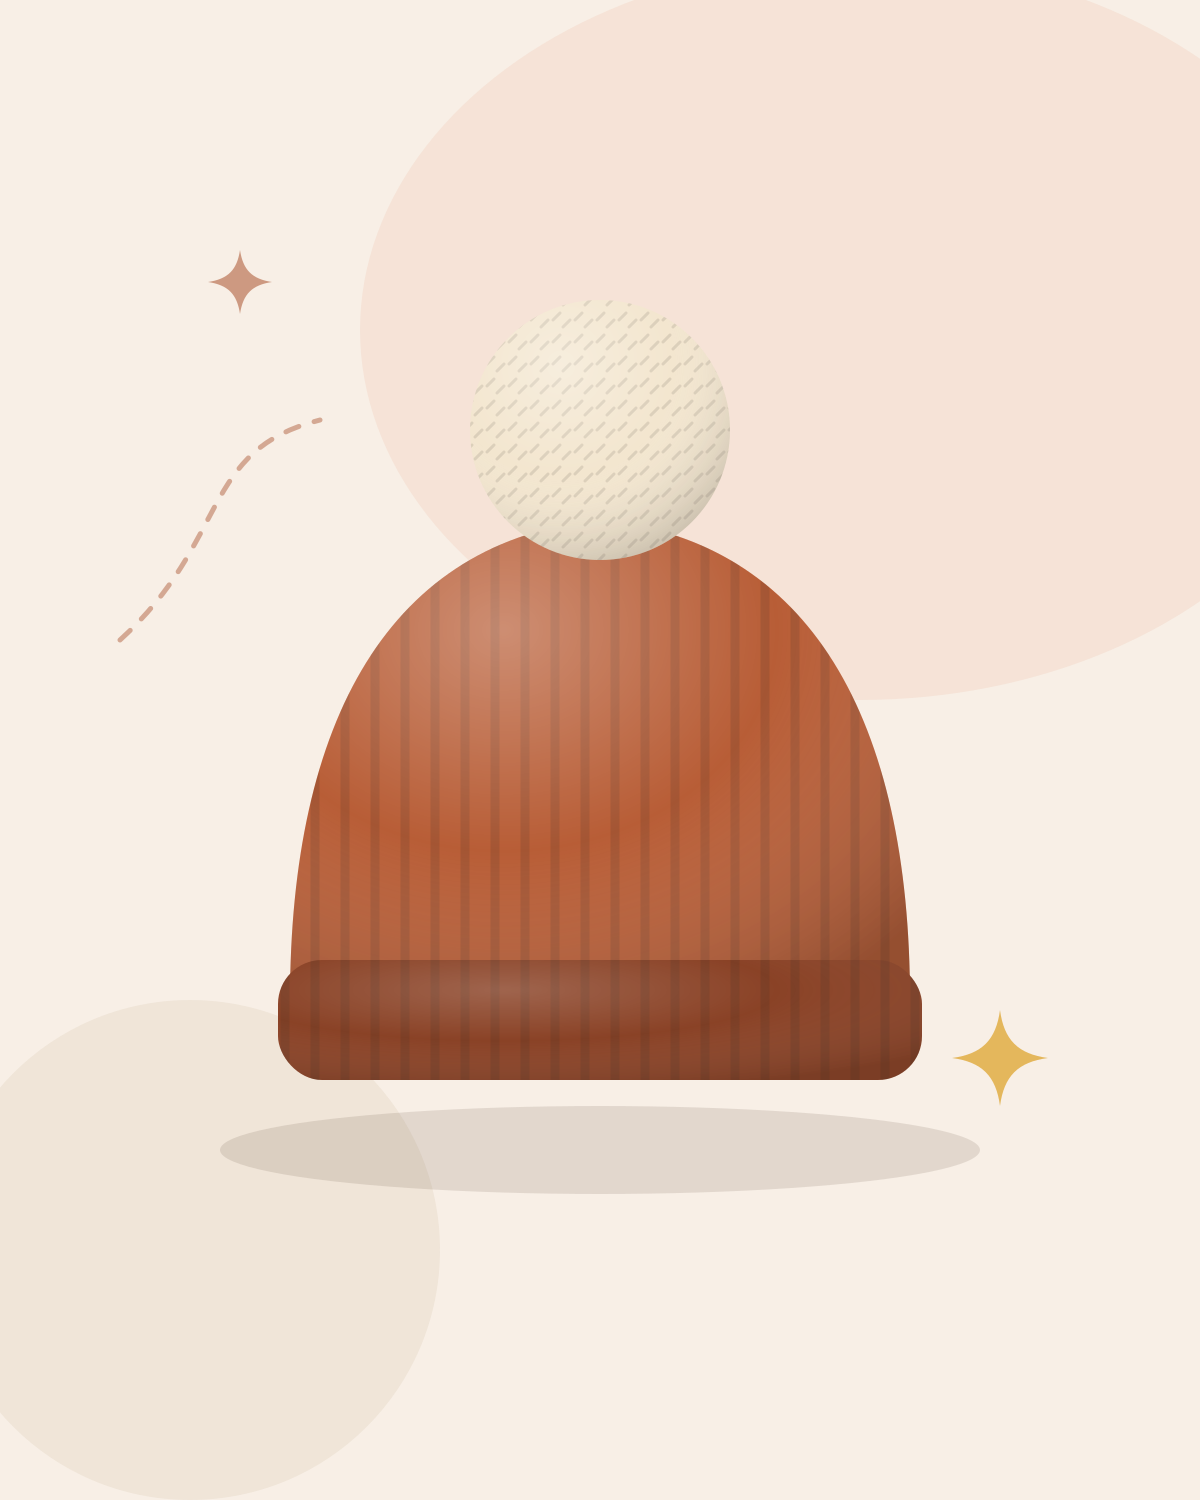
No rounds and no increases: this hat starts as a flat rectangle worked in rows of half double crochet, just like a small scarf. Sew it into a tube, gather one edge closed, and it becomes a snug, ribbed beanie.
- Skill level
- Beginner
- Finished size
- Child: about 16.75 in (42.5 cm) around · Adult M: 19 in (48.5 cm) · Adult L: 20.75 in (53 cm), unstretched. About 7 (8, 8.5) in / 18 (20, 21.5) cm tall.
- Yarn weight
- Medium / Worsted
- Hook
- 5.5 mm (US I-9)
- Time
- About 3–4 hours
- Terminology
- US terms
Gauge: 13 hdc and 10 rows = 4 in (10 cm), worked in rows in back loops only. Check your gauge — the number of rows sets how big the hat is around.
On this page
About this pattern
Working every row into the back loops only gives the fabric soft ribs and plenty of stretch, so the hat hugs the head without feeling tight. The rows run up the hat, which means the number of rows sets the size around the head and the length of the foundation chain sets the height.
Sizes are given for a child (head 18–20 in / 46–51 cm), an adult medium (20.5–22 in / 52–56 cm) and an adult large (22.5–24 in / 57–61 cm). Because you can wrap the rectangle around the head before sewing it, checking the fit is easy.
Add a big pompom for a classic bobble hat, or make the rectangle a little taller and fold up the brim for extra warmth. For babies and children under 3, skip the pompom.
Why you'll love it
- Made from a simple rectangle — no rounds or increases
- Stretchy ribs from one easy technique
- Child and adult sizes you can check before you sew
- Becomes a bobble hat with one pompom
Materials
Worsted- or aran-weight yarn
Estimated. Allow about 25 yd (23 m) more for a pompom.
About 100 (125, 145) yd / 91 (114, 133) m
5.5 mm (US I-9) crochet hook
Or the size that gives you the gauge
Pompom maker or a piece of stiff cardboard
Optional, for the bobble hat
Tapestry needle, scissors and a tape measure
Abbreviations
- ch
- chain
- hdc
- half double crochetUK: htr
- sc
- single crochetUK: dc
- sl st
- slip stitchUK: ss
- BLO
- back loop only
- st(s)
- stitch(es)
- rep
- repeat
- ( )
- stitch count at the end of a round or row, or a group worked into one stitch
This pattern uses US terms. Convert US ↔ UK terms
Stitches used
Notes before you start
- Sizes are written as Child (Adult M, Adult L). Follow the numbers for your size throughout.
- The ch 2 at the start of each row does not count as a stitch.
- From Row 2 onward, work every stitch in the back loop only (BLO). This makes the ribs and the stretch.
- The rows run up the hat: the number of rows sets the size around the head, and the foundation chain sets the height.
- Written in US crochet terms. In UK terms, hdc is half treble (htr).
Free pattern
The pattern
0 / 10
Tick rows and rounds as you finish them — your progress is saved on this device.
Foundation chain
Hat rectangle
Tip: Before you fasten off, wrap the rectangle around the head where the hat will sit. It should feel snug, with the two short edges just meeting. Add or remove rows until it fits.
Assembly
Tip: If a small hole is left at the top, close it with a few extra stitches across the center before you knot the tail.
Finishing
Tips
- Count your stitches every few rows — you should always have 26 (29, 31). If rows get shorter or longer, check the first and last stitch of each row.
- The first hdc of each row goes into the very first stitch, right beside the turning chain.
- If the hat feels loose, remove a few rows before seaming or try a 5 mm hook.
- For babies and children under 3, skip the pompom and any other small attachments.
Variations
- Fold-up brim
- Add 8 chains to the foundation chain, so each row has 34 (37, 39) sts, for a taller hat. Fold the bottom 2.5 in (6 cm) up after finishing. You will need about 30% more yarn.
- Neat bottom edge
- After finishing, join yarn at the seam on the bottom edge and work 1 round of sc evenly around it, about 4 sc for every 3 row ends. Join with a sl st to the first sc and fasten off.
- Stripes
- Change color every 4 rows for stripes that run up the hat.
Common questions
What is the easiest crochet hat for beginners?
A hat made from a rectangle, like this one. You only work straight rows of one stitch, then sew a seam and gather the top, so there are no rounds or increases to keep track of.
How do I turn this into a bobble hat?
Finish the hat, then make a pompom about 3 in (7.5 cm) across and tie it securely to the gathered top. In the UK, a hat with a pompom is usually called a bobble hat.
Why does the hat have ribs?
Every row after the first is worked in the back loops only. The unused front loops form ridges that run up the hat and give it stretch.
What yarn is best for a first hat?
A soft, smooth worsted- or aran-weight acrylic, wool or wool blend. A light color makes your stitches easier to see.
Written by
Founder & editor
Akram Afkir runs All About Crochet from Casablanca, Morocco, and is responsible for the patterns, tutorials and guides published on the site.
- Pattern testing
- Not yet tested
Keep making
You may also like
 Free pattern
 Free pattern
 Free pattern
 Free pattern