Chain Stitch Bracelet
If you have only just learned to hold a hook, make this bracelet first. It uses nothing but a slip knot and chains and a row of slip stitches, so you can practice even tension on something small that you can actually wear.
- Skill level
- Absolute Beginner
- Finished size
- About 1/4 in (6 mm) wide; length made to fit your wrist
- Yarn weight
- Light
- Hook
- 4 mm (US G-6)
- Time
- About 20 minutes
- Terminology
- US terms
Gauge: Not important for this project — you measure as you go.
On this page
About this pattern
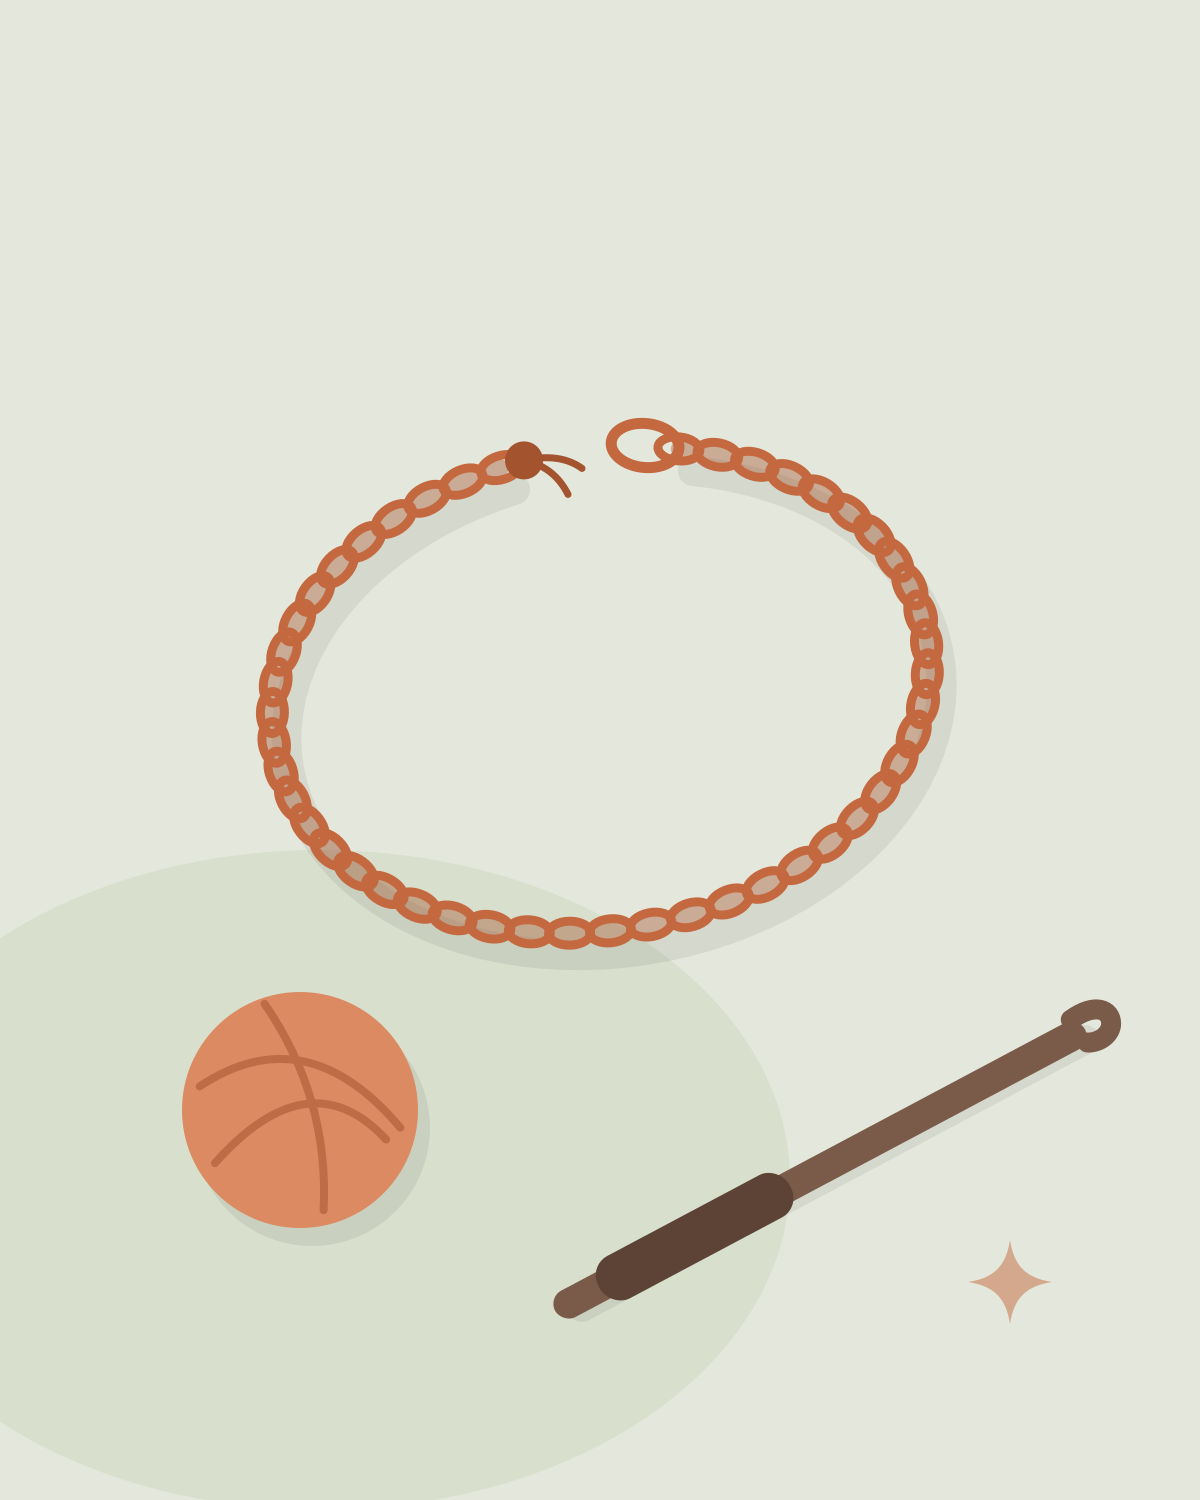
The bracelet is one long chain with a small loop at the end. You then work a slip stitch into every chain on the way back, which turns the thin chain into a firmer, flatter cord and gives you your first practice at inserting the hook into a stitch. The two yarn tails are tied into a knot, and the knot slips through the loop to close the bracelet.
Because you chain to the length of your own wrist, there is no gauge to match and no chain count to get right — it fits whoever you make it for.
Why you'll love it
- Only three moves — slip knot, chain and slip stitch
- Finished in one short sitting
- Adjustable to any wrist
- A great use for tiny leftover amounts of yarn
Materials
DK (light
Worsted-weight cotton with a 5 mm hook also works; the bracelet will be a little thicker
About 3–4 yd (3–4 m)
4 mm (US G-6) crochet hook
Scissors and a tape measure
Abbreviations
- ch
- chain
- sl st
- slip stitchUK: ss
- st(s)
- stitch(es)
This pattern uses US terms. Convert US ↔ UK terms
Stitches used
Notes before you start
- Measure your wrist before you start. You chain to that length, so there is no set number of chains.
- The slip knot and the loop on your hook never count as chains.
- Keep your slip stitches loose. Tight slip stitches make the cord curl and are hard to work into.
Free pattern
The pattern
0 / 8
Tick rows and rounds as you finish them — your progress is saved on this device.
Chain
Tip: The knot you tie at the end needs to pass through this loop snugly. If you are using thicker yarn, make the loop with 10 chains instead of 8.
Slip stitch row
Finishing
Tips
- If your chain is very tight, make it with a hook one size larger, then switch back for the slip stitch row.
- Before the slip stitch row, lay the chain flat so all the Vs face you. This stops the bracelet from twisting.
- Make a few in different colors. They are quick, and each one improves your tension.
Variations
- Double-wrap bracelet
- Chain twice your wrist measurement before making the loop, and wear the bracelet wrapped around your wrist twice.
- Anklet
- Measure around your ankle instead of your wrist and make the bracelet in exactly the same way.
- Chunkier bracelet
- Use worsted-weight yarn and a 5 mm (US H-8) hook, and make the loop with 10 chains so the bigger knot fits through.
Common questions
How many chains do I need?
It depends on your yarn, hook and tension, which is why the pattern asks you to measure instead of counting. In DK yarn with a 4 mm hook, most adult bracelets need 40 to 50 chains.
Why does my bracelet curl?
Tight slip stitches pull the cord into a curve. Loosen your grip on the yarn, or work the slip stitch row with a hook one size larger. A gentle stretch when you have finished also helps.
Can I wash it?
Yes. Hand-wash a cotton bracelet in lukewarm water, squeeze out the water gently and let it dry flat.
Written by
Editor — placeholder profile
This is a placeholder author profile. Before launch, replace it with the real person who writes, designs and tests the patterns on this site.
Placeholder profile — replace before launch
- Pattern testing
- Not yet tested
Keep making
You may also like
 Free pattern
 Free pattern
 Free pattern
 Free pattern
Newsletter
Get the next free pattern first.
New free patterns, gentle tutorials and seasonal ideas — about twice a month.