Easy Crochet Pumpkin
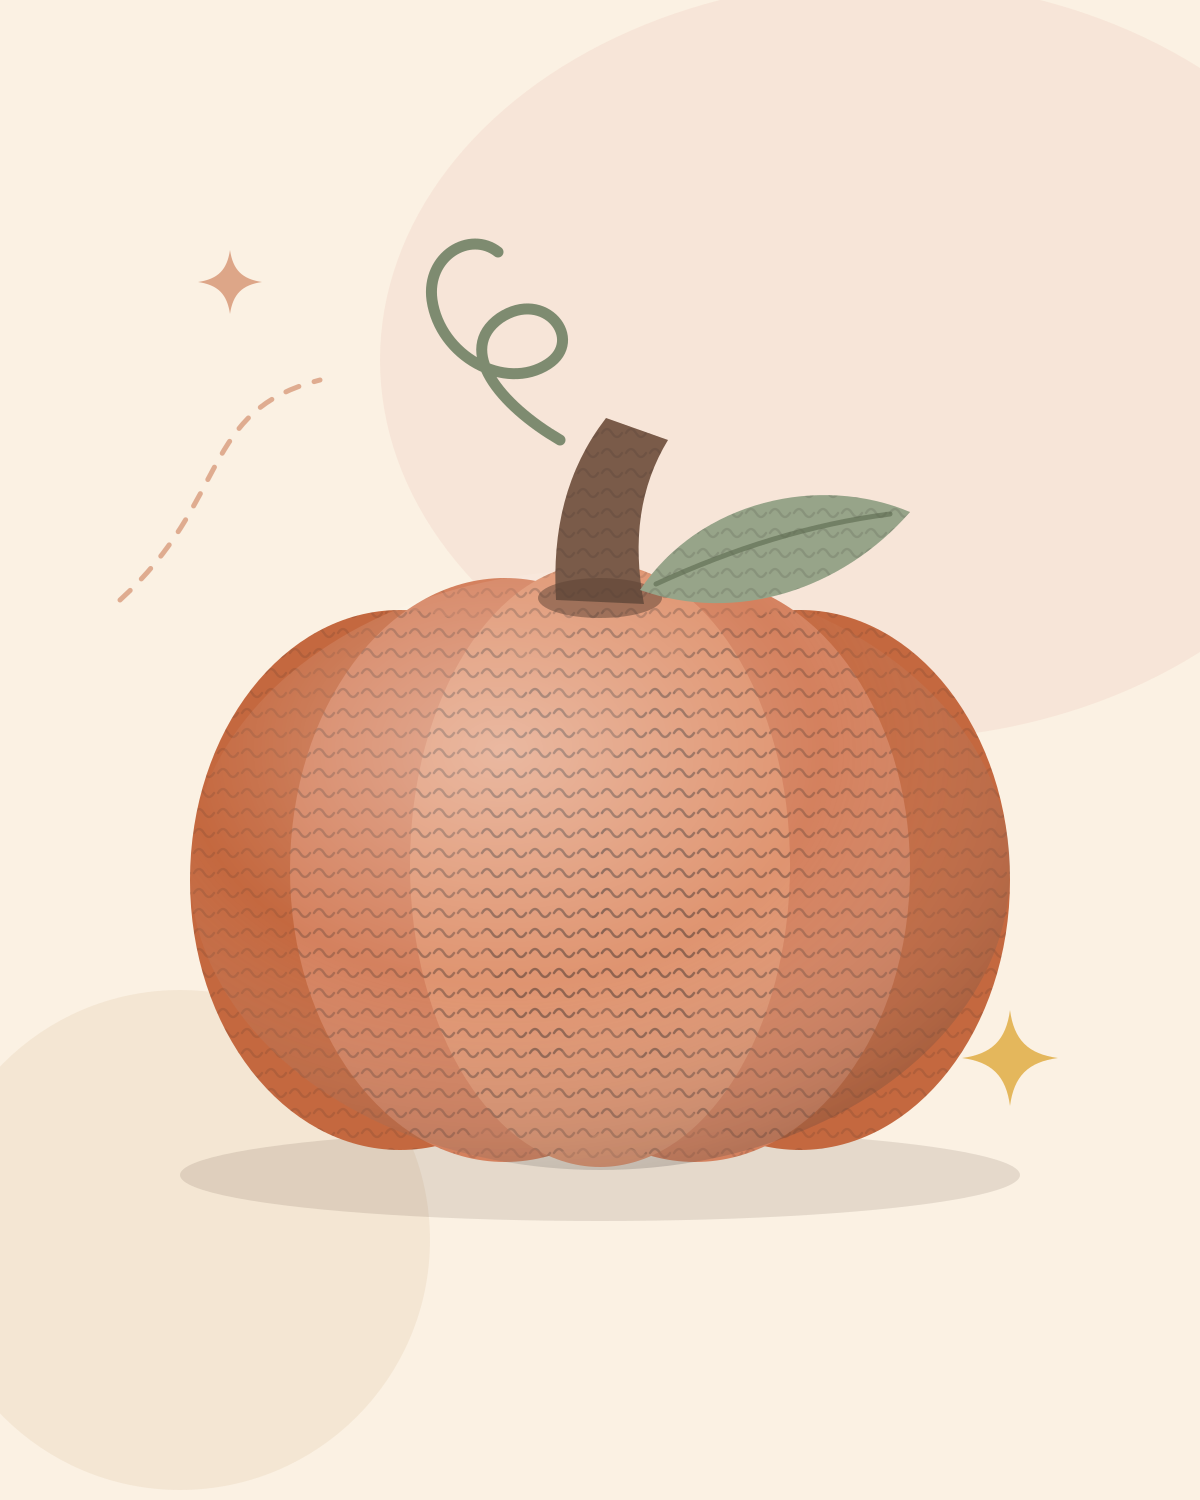
This little pumpkin starts as a crocheted ball and gets its shape at the end: a long strand of yarn wraps around it and pulls it into six rounded segments. If you can make a magic ring and work single crochet in rounds, you can make one in an evening.
- Skill level
- Beginner
- Finished size
- About 3 in (7.5 cm) across and 2.5 in (6 cm) tall, not including the stem
- Yarn weight
- Medium / Worsted
- Hook
- 3.5 mm (US E-4)
- Time
- About 1½–2 hours
- Terminology
- US terms
Gauge: Gauge is not critical. Aim for tight stitches with no gaps — if stuffing shows through the fabric, switch to a smaller hook.
On this page
About this pattern
The pumpkin is worked from the bottom up in continuous spiral rounds. Six increases in every round make a flat circle, a band of even rounds builds the sides, and six decreases in every round close the top. Because the increases and decreases stack in the same places, they leave six faint lines that make handy guides when you wrap the segments.
The stem is a tiny tube with a flared base, and the leaf and curly vine are quick extras made from a short chain. Skip them for a simpler pumpkin, or make a whole patch in orange, cream, sage green and rust for a table, shelf or mantel from early autumn through Halloween and Thanksgiving.
Why you'll love it
- The pumpkin itself uses only single crochet, increases and decreases
- Six neat segments made with one simple yarn wrap
- Finishes in an evening, so you can make a whole pumpkin patch
- Works as autumn, Halloween and Thanksgiving decor
Materials
Worsted-weight yarn in orange
Estimated, including about 2 yd (1.8 m) for the segment wraps
About 35 yd (32 m)
Worsted-weight yarn in brown
For the stem
About 3 yd (2.7 m)
Worsted-weight yarn in green
For the leaf and vine (optional)
About 4 yd (3.7 m)
3.5 mm (US E-4) crochet hook
A hook smaller than the yarn label suggests keeps amigurumi stitches tight
Polyester fiberfill
A large handful
Stitch marker, tapestry needle and scissors
Abbreviations
- ch
- chain
- sc
- single crochetUK: dc
- hdc
- half double crochetUK: htr
- dc
- double crochetUK: tr
- inc
- increase — work 2 stitches in the same stitch
- dec
- decrease — work 2 stitches together
- sl st
- slip stitchUK: ss
- st(s)
- stitch(es)
- rnd(s)
- round(s)
- [ ]
- repeat the instructions inside the brackets the number of times stated
- ( )
- stitch count at the end of a round or row, or a group worked into one stitch
This pattern uses US terms. Convert US ↔ UK terms
Stitches used
Notes before you start
- The pumpkin and stem are worked in continuous spiral rounds. Do not join at the end of each round — place a stitch marker in the first stitch and move it up as you go.
- Here, inc means 2 sc in the same stitch and dec means sc 2 stitches together.
- The number shown after each round is the stitch count you should have at the end of that round.
- The optional leaf uses half double crochet and double crochet. If you only know single crochet so far, make the pumpkin, stem and vine and skip the leaf.
- Written in US crochet terms. In UK terms, sc is double crochet (dc).
Free pattern
The pattern
0 / 29
Tick rows and rounds as you finish them — your progress is saved on this device.
Pumpkin
Start with orange. The magic ring becomes the bottom of the pumpkin.
Note: Stuff the pumpkin firmly now, adding fiberfill in small pieces and shaping it into a smooth ball. Firm stuffing gives deeper segments.
Stem
Leaf (optional)
Worked on both sides of a short chain, so the leaf is finished in one pass.
Vine (optional)
Assembly
Tip: Pull every wrap to the same tension so the segments match. Pressing down gently on the top while you tighten gives a squat, natural pumpkin shape.
Finishing
Tips
- Stuff in small pieces rather than one big clump, so the pumpkin stays smooth and the wraps pull in evenly.
- If you can see stuffing between the stitches, work more tightly or change to a 3 mm hook.
- Cotton yarn gives crisp stitch definition; acrylic makes a softer, more budget-friendly pumpkin.
- Try cream, sage green or rust as well as orange for a farmhouse-style pumpkin patch.
Variations
- Bigger pumpkin
- After Rnd 7, work [sc 6, inc] 6 times (48 sts). Work 8 even rounds instead of 7, then [sc 6, dec] 6 times (42 sts) and continue with Rnd 15. You will need a little more yarn and stuffing.
- Chunky pumpkin
- Use bulky yarn and a 5 mm hook with the same instructions for a larger, squishier pumpkin.
- Jack-o’-lantern
- Before wrapping the segments, embroider two triangle eyes and a zigzag smile on one side with black yarn.
Common questions
How do you make the segments on a crochet pumpkin?
Wrap a long strand of yarn around the stuffed pumpkin, passing the needle through the center from bottom to top each time. Pulling each wrap snug makes a groove, and six evenly spaced wraps make six segments.
Is this crochet pumpkin good for beginners?
Yes. The pumpkin and stem use only single crochet, increases and decreases worked in rounds. The optional leaf adds half double crochet and double crochet if you want to practice them.
Can I use acrylic yarn instead of cotton?
Yes. Any worsted-weight yarn works. Acrylic gives a softer pumpkin, while cotton shows the stitches more crisply.
What is single crochet in UK terms?
Single crochet (sc) is called double crochet (dc) in UK patterns. The stitch is the same; only the name changes.
Written by
Founder & editor
Akram Afkir runs All About Crochet from Casablanca, Morocco, and is responsible for the patterns, tutorials and guides published on the site.
- Pattern testing
- Not yet tested
Keep making
You may also like
 Free pattern
 Free pattern
 Free pattern
 Free pattern