Crochet School · Start here
How to Start Crocheting: Your First Stitches, Step by Step
A hands-on first lesson: make a slip knot, hold the hook and yarn, make chains and crochet your first rows of single crochet — no experience needed.
On this page
- Words you will meet in this lesson
- Step 1: Make a slip knot
- Step 2: Hold the hook
- Step 3: Hold the yarn
- Step 4: Make 15 chains
- Step 5: Work your first row of single crochet
- Step 6: Turn and work the second row
- Step 7: Keep going for 10 rows
- Step 8: Fasten off
- If something goes wrong
- Ready for a real project?
- Common questions
- Practice patterns
This is a practical first lesson. By the end of it you will have made a slip knot, a row of chains and a small piece of single crochet — the moves that nearly every pattern is built from. Set aside 30 to 45 minutes, and don’t worry if your first rows look lumpy. Everyone’s do.
Words you will meet in this lesson
- Working yarn — the yarn coming from the ball.
- Tail — the loose end of yarn you leave at the start.
- Yarn over (yo) — wrapping the working yarn over your hook from back to front.
- Loop on the hook — the active loop that sits on your hook between stitches. It never counts as a stitch.
Step 1: Make a slip knot
The slip knot attaches the yarn to your hook.
- About 6 in (15 cm) from the end of the yarn, make a loop by crossing the working yarn over the tail.
- Reach through the loop, catch the working yarn and pull a small loop of it through.
- Put that new loop on your hook and gently pull both ends of the yarn until the knot sits snugly around the hook.
The loop should slide along the hook without falling off. If the knot comes apart when you tug the yarn, simply start again — most people need two or three tries.
Step 2: Hold the hook
Hold the hook in your dominant hand with the little hook at the tip facing toward you. Two grips are common:
- Pencil grip — hold the hook like a pencil, near the flat thumb rest.
- Knife grip — rest your hand over the hook as if you were holding a table knife.
Neither is more correct. Choose the one that lets your wrist and fingers stay relaxed.
Step 3: Hold the yarn
Your other hand feeds the yarn and controls your tension — how tightly the yarn flows. A simple way to start:
- Wrap the working yarn loosely once around your little finger, then drape it over your index finger.
- Pinch the work — the slip knot, and later your stitches — between your thumb and middle finger, just below the hook.
- Raise or lower your index finger slightly to feed more or less yarn.
The yarn should slide through your fingers with a little resistance. If your hand starts to ache, or your stitches are tiny and hard to work into, loosen your grip.
Step 4: Make 15 chains
- Yarn over: wrap the working yarn over the hook from back to front.
- Pull through: turn the hook slightly downward to catch the yarn and draw it through the loop on your hook.
That’s one chain (ch). Repeat until you have 15. Move your pinching fingers up every few chains so you are always holding the work close to the hook.
Count your chains. Each chain is a little V on the front of the chain. Count the Vs, but not the slip knot or the loop on your hook. You should have 15. The chain stitch tutorial has more tips for even chains.
Step 5: Work your first row of single crochet
Single crochet (sc) is the shortest basic stitch and the best one to learn first.
- Skip the chain next to your hook. Insert your hook into the second chain from the hook, under the top two strands of the V.
- Yarn over and pull the yarn through the chain. You now have 2 loops on your hook.
- Yarn over again and pull through both loops. One single crochet is finished, and 1 loop remains on your hook.
- Insert your hook into the next chain and repeat steps 2 and 3. Work one single crochet into every chain to the end.
You should have 14 single crochet. The chain you skipped lifts your hook to the height of the first stitch, so it isn’t counted.
Step 6: Turn and work the second row
- Chain 1. This chain brings your hook up to the height of the new row. In single crochet it does not count as a stitch.
- Turn your work over like the page of a book, so the last stitch you made is now nearest your hook.
- Insert your hook under both loops at the top of that first stitch and make a single crochet.
- Work one single crochet into each stitch across. Make sure the last one goes into the very last stitch of the row below — it likes to hide at the edge.
Count again: you should still have 14 single crochet.
Step 7: Keep going for 10 rows
Repeat Step 6 until you have 10 rows. You will have a small rectangle about 4 in (10 cm) wide. It is completely normal for the first few rows to look tighter than the last ones — your hands are already relaxing.
Step 8: Fasten off
Cut the yarn, leaving a tail of about 6 in (15 cm). Yarn over and pull the tail all the way through the loop on your hook, then tug gently to tighten. To hide the tails neatly, follow how to fasten off and weave in ends.
If something goes wrong
The loop keeps sliding off the hook. Keep the tip of the hook pointing slightly up between stitches, and keep a little tension on the working yarn.
The chain twists. Keep the Vs facing you as you work along the chain in Step 5. A twist is much easier to straighten before the first row than after.
Your work gets narrower or wider. Count each row and check the first and last stitches. A stitch marker in the last stitch of every row makes it easy to find.
You want to undo some stitches. Take the hook out and gently pull the working yarn. Crochet unravels one stitch at a time, and you can put the hook back into the loop and carry on. Crocheters call this frogging — “rip it, rip it”.
Ready for a real project?
Make these two first. The bracelet practices chains and slip stitches, and the dishcloth is exactly the rows you just learned, only bigger. The crochet for beginners guide lists all six first projects in order.
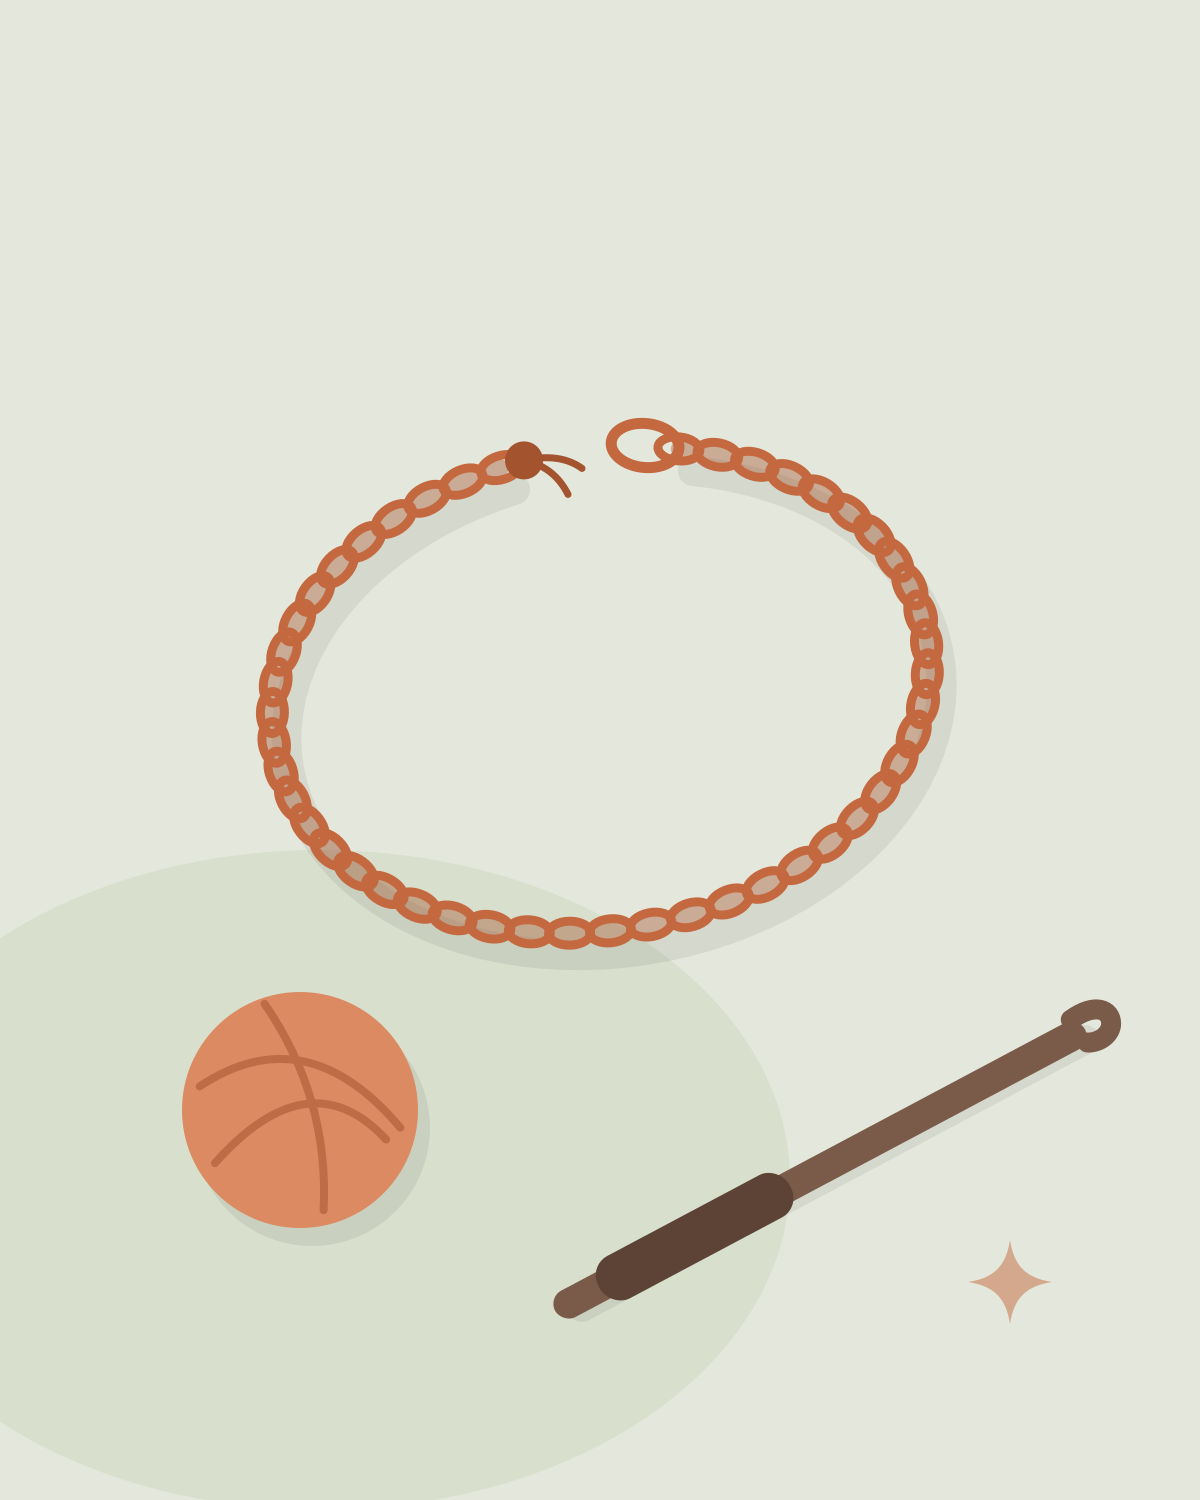 Free patternChain Stitch BraceletAbsolute Beginner20 minutes
 Free patternEasy Single Crochet DishclothAbsolute Beginner2–3 hours
Common questions
How long does it take to learn to crochet?
Most people can make a slip knot, chains and a row of single crochet in their first sitting of 30 to 60 minutes. Even tension usually takes a few more practice sessions, so expect your first swatch to look a little uneven.
Can left-handed people follow these instructions?
Yes. Hold the hook in your left hand and the yarn in your right, and work from left to right instead of right to left. The stitches themselves are exactly the same.
What size hook should a complete beginner use?
A 5 mm (US H-8) hook with smooth, light-colored worsted-weight yarn is a comfortable combination for learning. Thin yarn and small hooks make the stitches harder to see.
Why is my first row so hard to work into?
The foundation chain is usually too tight. Relax your yarn hand, pull each chain up onto the wide part of the hook, or make the chain with a hook one size larger than the one you use for the rows.
Written by
Editor — placeholder profile
This is a placeholder author profile. Before launch, replace it with the real person who writes, designs and tests the patterns on this site.
Placeholder profile — replace before launch
Put it into practice
Patterns to practice with
- Free pattern
- Free pattern
Newsletter
A little crochet inspiration in your inbox.
New free patterns, gentle tutorials and seasonal ideas — about twice a month.