Easy Mini Crochet Bee
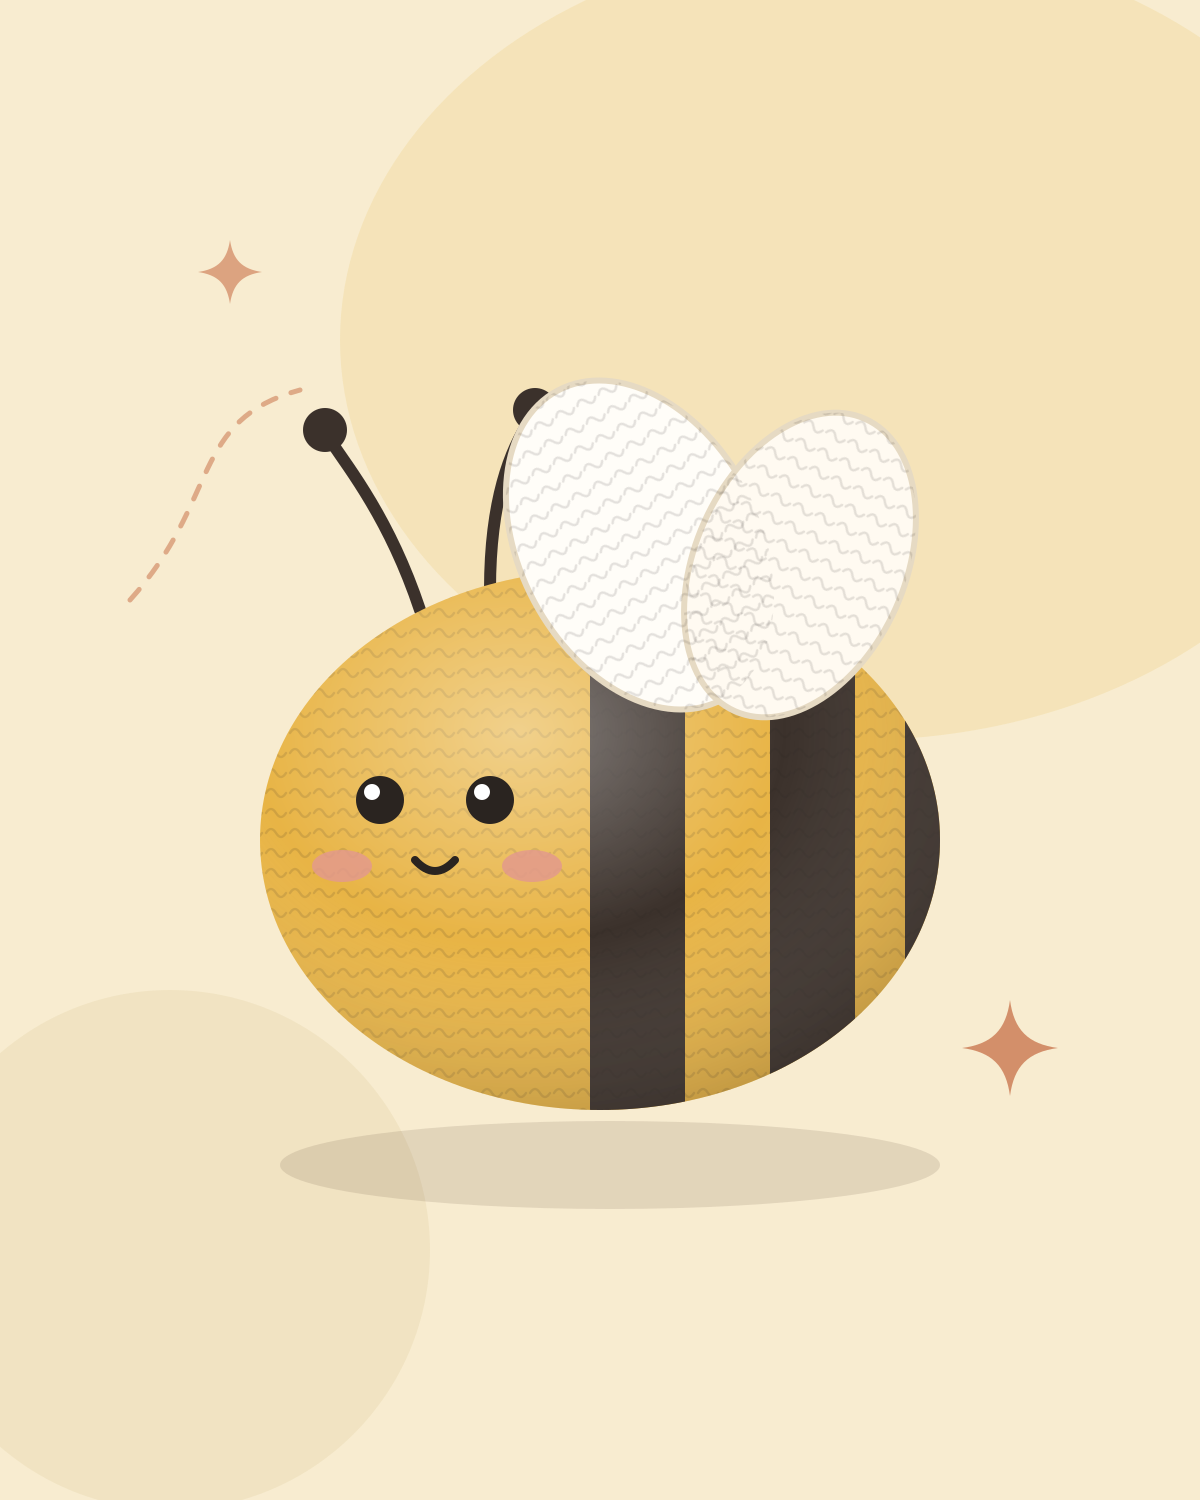
This little bee is worked from nose to tail in one piece, so there is no body to sew together — only two tiny wings to attach at the end. If you can make a magic ring and work single crochet in rounds, you have every skill this pattern needs.
- Skill level
- Beginner
- Finished size
- About 3 in (7.5 cm) long, not including wings
- Yarn weight
- Medium / Worsted
- Hook
- 3.5 mm (US E-4)
- Time
- About 2 hours
- Terminology
- US terms
Gauge: Gauge is not critical. Aim for tight stitches with no gaps — if stuffing shows through the fabric, switch to a smaller hook.
On this page
About this pattern
The body starts with a magic ring at the face and grows in continuous spiral rounds. Stripes come from simple color changes, and the shaping at the tail uses ordinary single crochet decreases, so the whole bee is a gentle practice piece for the three techniques almost every amigurumi pattern relies on: increasing, working even and decreasing.
Because it only needs a few yards of each color, the bee is a good way to use up leftover cotton from bigger projects. Finished bees make sweet keychains, mobile charms, gift toppers or spring table decorations.
If you are making the bee for a baby or young child, embroider the eyes with yarn instead of using safety eyes, and sew the wings on very securely.
Why you'll love it
- Worked in one piece — no body parts to sew together
- Uses small amounts of yarn, so it is ideal for scraps
- A gentle introduction to increases, decreases and color changes
- Makes a quick handmade gift, keychain or mobile charm
Materials
Worsted-weight yarn in yellow
About 15 yd (14 m)
Worsted-weight yarn in black or dark brown
About 10 yd (9 m)
Worsted-weight yarn in white
For the wings
About 5 yd (4.5 m)
3.5 mm (US E-4) crochet hook
A hook smaller than the yarn label suggests keeps amigurumi stitches tight
6 mm safety eyes
Or embroider the eyes with black yarn for children under 3
2
Polyester fiberfill
A small handful
Stitch marker, tapestry needle and scissors
Abbreviations
- sc
- single crochetUK: dc
- inc
- increase — work 2 stitches in the same stitch
- dec
- decrease — work 2 stitches together
- sl st
- slip stitchUK: ss
- st(s)
- stitch(es)
- rnd(s)
- round(s)
- [ ]
- repeat the instructions inside the brackets the number of times stated
- ( )
- stitch count at the end of a round or row, or a group worked into one stitch
This pattern uses US terms. Convert US ↔ UK terms
Stitches used
Notes before you start
- The body is worked in continuous spiral rounds. Do not join at the end of each round — place a stitch marker in the first stitch and move it up as you go.
- Change color on the last yarn over of the final stitch in the old color. Cut the old color, leaving a short tail to tie off and hide inside the body.
- The number shown after each round is the stitch count you should have at the end of that round.
- Written in US crochet terms.
Free pattern
The pattern
0 / 20
Tick rows and rounds as you finish them — your progress is saved on this device.
Body
Start with yellow. The first rounds form the bee's face.
Note: Insert the safety eyes between Rnds 5 and 6, about 5 stitches apart. For a child under 3, skip the safety eyes and embroider the eyes with black yarn instead — add them after stuffing, before the opening gets small.
Wings (make 2)
Assembly
Tip: Pin the wings in place first and look at the bee from every side before sewing.
Finishing
Tips
- Tight stitches matter more than exact gauge in amigurumi. If you can see stuffing through the fabric, try a smaller hook.
- Stuff the head before the opening gets small, adding fiberfill in small pieces so the bee stays smooth rather than lumpy.
- Cotton yarn gives crisp stitch definition; acrylic makes a softer, more budget-friendly bee.
- For children under 3, embroidered eyes are safer than safety eyes. Sew the wings on very securely too.
Variations
- Chunky bee
- Use bulky yarn and a 5 mm hook for a larger, squishier bee. It will need more yarn and stuffing.
- Bee garland
- Make several bees, sew a small yarn loop to each back and string them together.
- Vintage palette
- Swap bright yellow for mustard or golden brown for a softer, more grown-up look.
Common questions
Is this bee safe for babies?
Safety eyes can become a choking hazard. For children under 3, embroider the eyes with yarn and sew the wings on securely. Always supervise young children with handmade toys.
Can I use acrylic yarn instead of cotton?
Yes. Any worsted-weight yarn works. Acrylic gives a softer bee; cotton shows the stitches more crisply.
Why is there a small step where the stripes change color?
Working in a spiral always creates a small jog at color changes. Turn the jog to the back of the bee when you attach the wings and it will barely show.
How do I turn the bee into a keychain?
Before weaving in the last ends, sew a small metal jump ring or a sturdy loop of yarn securely to the top of the body, then attach a keychain clasp. A keychain isn’t a toy, so keep it away from babies and young children.
Written by
Editor — placeholder profile
This is a placeholder author profile. Before launch, replace it with the real person who writes, designs and tests the patterns on this site.
Placeholder profile — replace before launch
- Pattern testing
- Not yet tested
Keep making
You may also like
 Free pattern
 Free pattern
 Free pattern
 Free pattern
Newsletter
Get the next free pattern first.
New free patterns, gentle tutorials and seasonal ideas — about twice a month.